 EN
EN  العربية
  Български
  Čeština
  Dansk
Dansk  Deutsch
  Ελληνικά
  Español
  Suomi
Suomi  Français
  עברית
עברית  हिन्दी
  Bahasa Indonesia
  Italiano
  日本語
日本語  한국어
한국어  Bahasa Melayu
  Nederlands
  Norsk
Norsk  Polski
  Português
  Română
  Русский
  Svenska
  Kiswahili
  ไทย
ไทย  Türkçe
  Українська
  Tiếng Việt
  中文
中文 User guide
Add a square logo and a wide logo
Upload a square mark and a wide wordmark, crop and rotate them in the app, keep several variants, and learn which one each PDF template prints.
Most businesses own their logo in more than one shape. There is a compact mark that sits in a circle or a square, and there is a longer version with the company name spelled out next to it. Invoice Flow keeps both, in two separate slots on the business profile, because they do different jobs: the square mark is your avatar inside the app and the element that some custom PDF layouts print, while the wide version is what the twelve built-in invoice templates put in the header. If you only have one file, you can still fill both slots from it: the crop screen lets you cut a square out of a wide banner, or a wide strip out of a poster.
This guide follows Tidewater Brewing Company, a small brewery in Portland, Maine, that delivers kegs to bars around the Old Port. Its owner, Nora Quinlan, has a round green badge with the letters TB and a wide wordmark. She wants the badge in the app and on the trades-style invoice that goes out with keg deliveries, and the wordmark on the cleaner invoice she sends to restaurants.
Setting up the rest of the profile has its own guide; this one covers the logo row, the crop screen behind it, and how PDF templates choose between the two images.
What you see on the screen
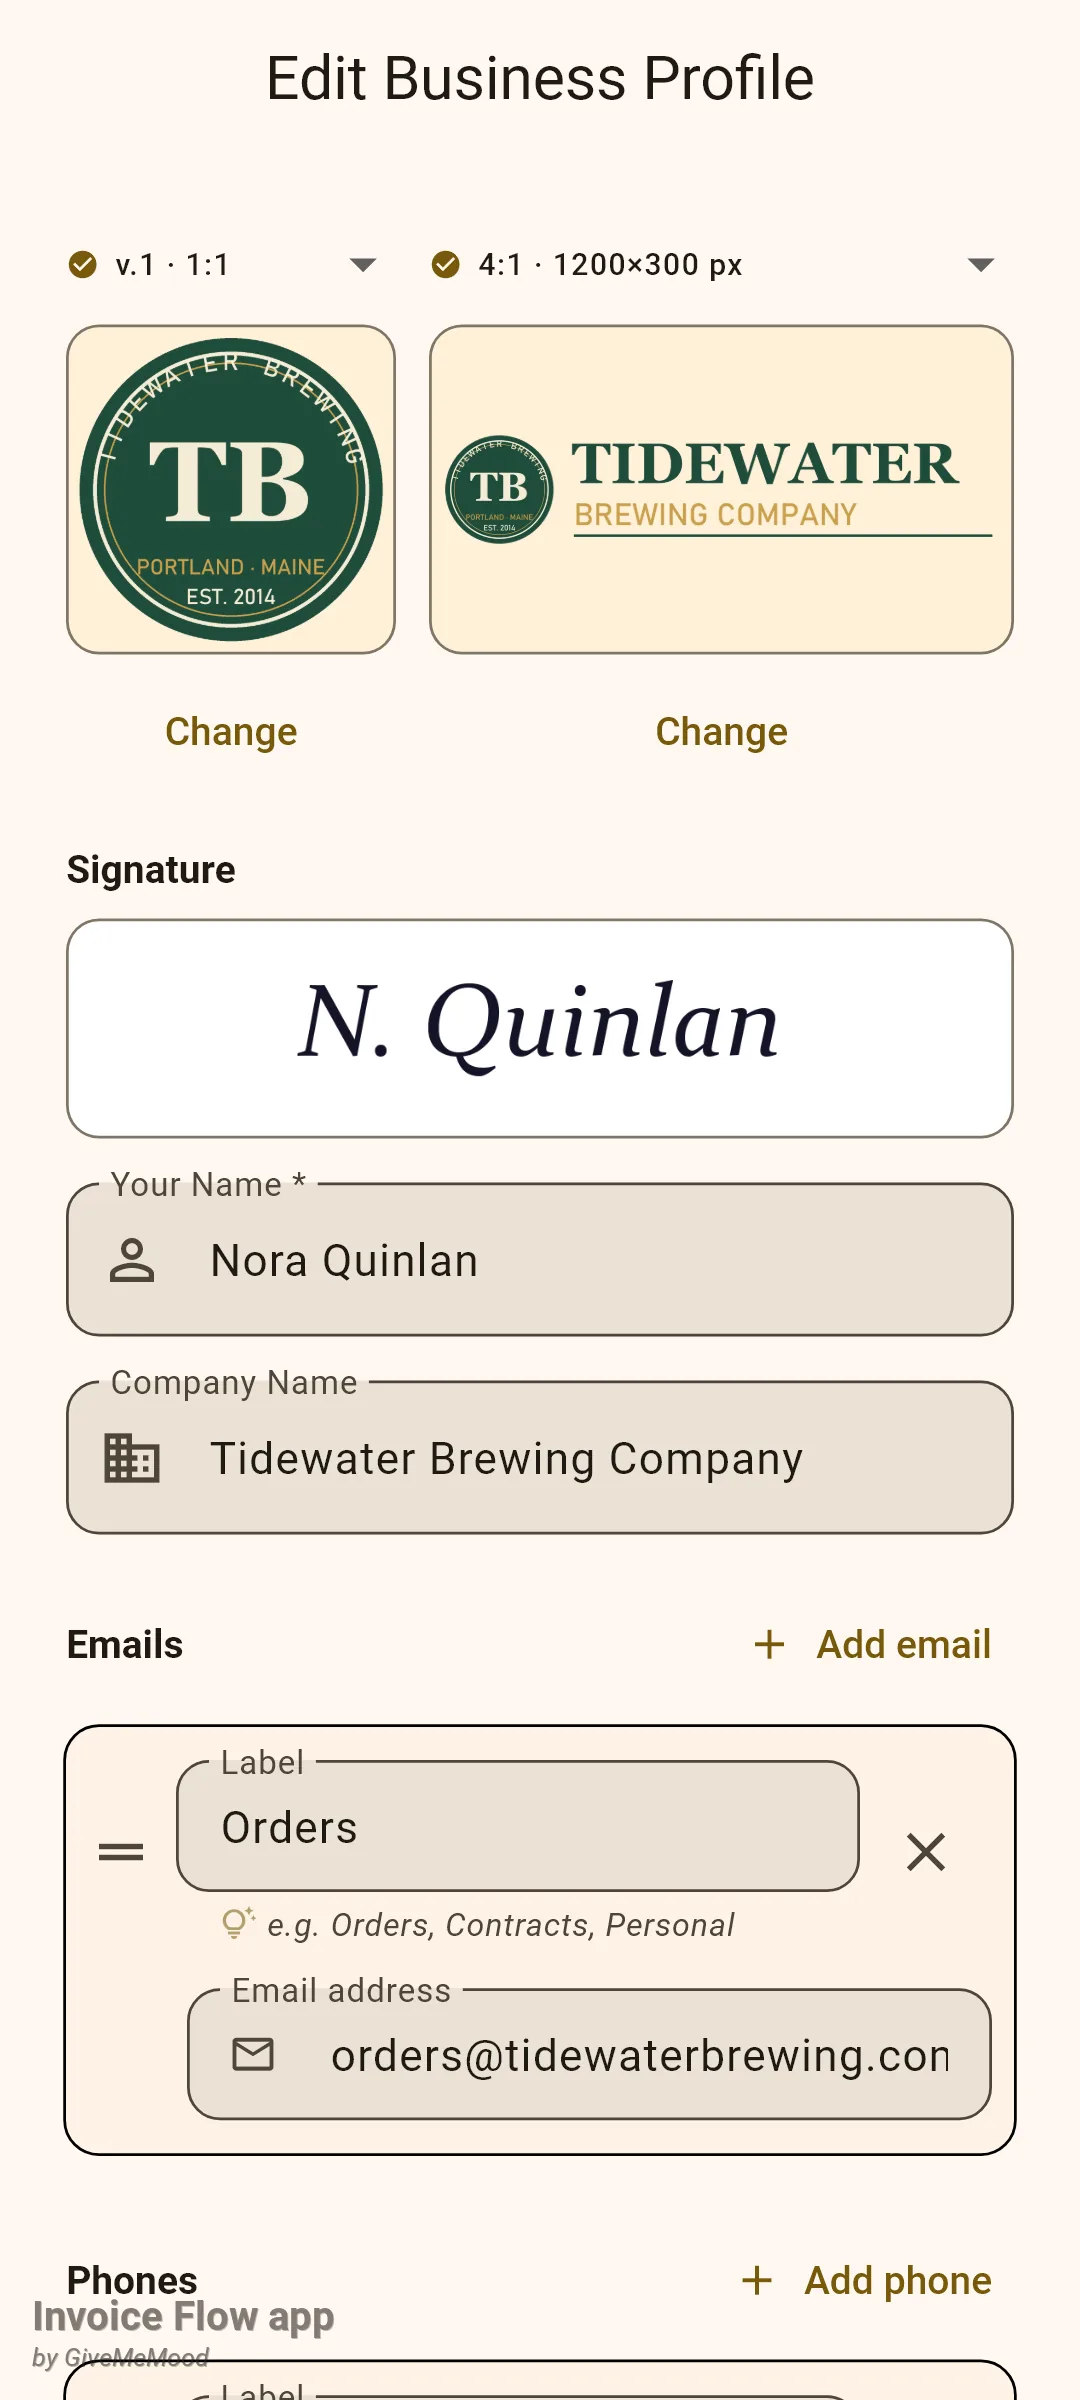
Open Settings and tap the profile tile at the top (or Business Profiles, then a profile). The form that opens is titled Edit Business Profile, and its first row is the logo row. On first launch the same row appears on the second onboarding page.
The row has two slots:
- On the left, a square tile. Above it is a small dropdown that reads v.1 · 1:1 and lists three square variants. The square slot always crops at 1:1 and the suggested size is 1200×1200 px.
- On the right, a wider tile that takes the rest of the row. Its dropdown reads 4:1 · 1200×300 px by default and offers four shapes: 4:1 · 1200×300 px, 3:1 · 1500×500 px, 2:1 · 1200×600 px and 16:9 · 1920×1080 px.
An empty tile shows a camera-plus icon and an Add button underneath. Once an image is in the slot, the tile shows the image at its true proportions on a tinted background and the button changes to Change. In each dropdown, a filled check-circle in front of an entry means that variant already has an image; a hollow circle means it is empty.
How to upload a logo into a slot
The flow is the same for both slots; only the crop shape differs.
- In the profile editor, tap the empty tile or its Add button. The app opens your photo gallery straight away (there is no camera option for logos; take the photo first if you need to).
- Pick the image: a PNG, a JPEG, or a screenshot of your letterhead. The picker accepts up to 2048 px per side for the square slot and 4096 px for the wide slot.
- The Crop image screen opens with a frame locked to the slot's shape. Drag with one finger to move the image, pinch with two fingers to zoom, or use the buttons along the bottom (see the next section).
- Tap the check mark in the top-right corner. The app renders the frame to a PNG and returns to the profile editor, where the tile now shows your crop and the button reads Change.
- Scroll to the bottom and tap Save Changes (or Continue during onboarding). Until you do, the logo lives only in the open form; leaving the screen discards it, and the app warns you about unsaved changes on the way out.
To fill the other slot from the same file, repeat the steps on the other tile and pick the image again. Nora chooses the badge for the square slot and a banner with badge and wordmark for the wide slot, then slides the banner inside the 4:1 frame.
How to crop, rotate and reposition
The crop screen is black with the crop frame in the middle. Everything visible inside the frame ends up in the logo, and that includes the light checkerboard shown behind transparent areas: the saved image is a flat PNG, not a transparent one. A thin white rule-of-thirds grid helps you line up text with the edges.
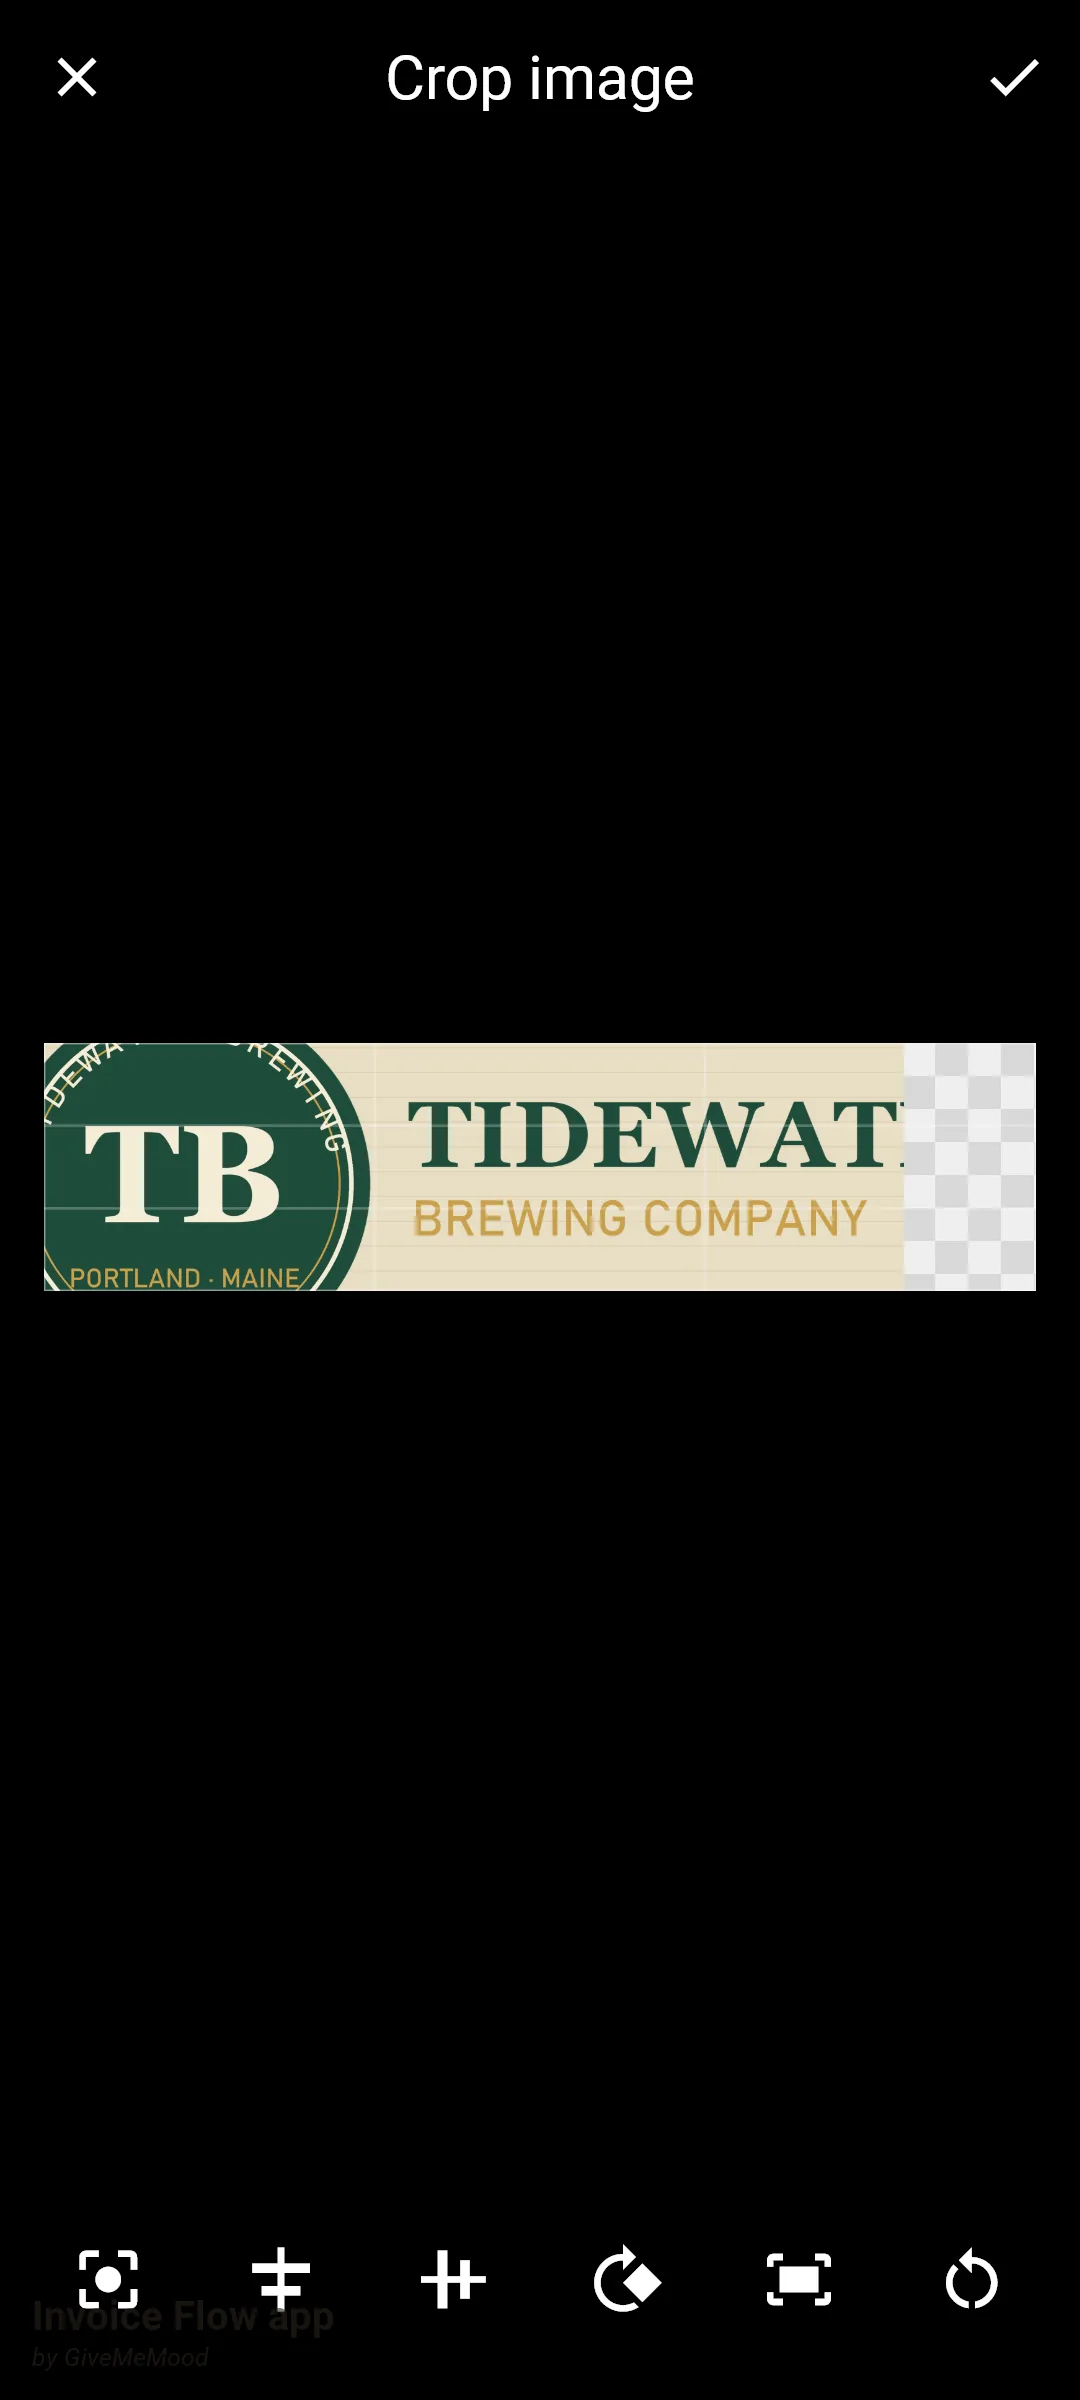
The six icons at the bottom have no text labels; a long press shows the name. From left to right:
| Icon | Name (long-press tooltip) | What it does |
|---|---|---|
| Crosshair in a frame | Center | Moves the image back to the middle of the frame in both directions, keeping zoom and rotation. |
| Vertical bar between arrows | Center horizontally | Centers only left-to-right; your vertical position stays. |
| Horizontal bar between arrows | Center vertically | Centers only top-to-bottom. |
| Curved arrow with a square | Rotate | Turns the image 90 degrees clockwise on every tap. Four taps bring it back around. |
| Frame with arrows | Auto-fit | Zooms so the image covers the whole frame with no empty margin (the shorter side snaps to the frame; the longer side may be cropped) and centers it. Rotation is kept. |
| Circular arrow | Reset | Puts the image back to its starting state: centered, fitted inside the frame, no rotation. |
- Tap Auto-fit first if the image has empty space around it. The button is disabled for a moment after the screen opens while the app reads the image size.
- Drag the image so the part you want sits inside the frame. Pinch to zoom in on a small mark or out to include more.
- If the source was shot sideways, tap Rotate once or twice. A two-finger twist also rotates freely by any angle; use it to straighten a slightly tilted scan.
- Tap Center to snap the image back to the middle once you are happy with the zoom, or one of the two single-axis buttons if only one direction has drifted.
- Tap Reset to start over, or the X in the top-left to leave the slot unchanged.
- Tap the check mark to keep the crop.
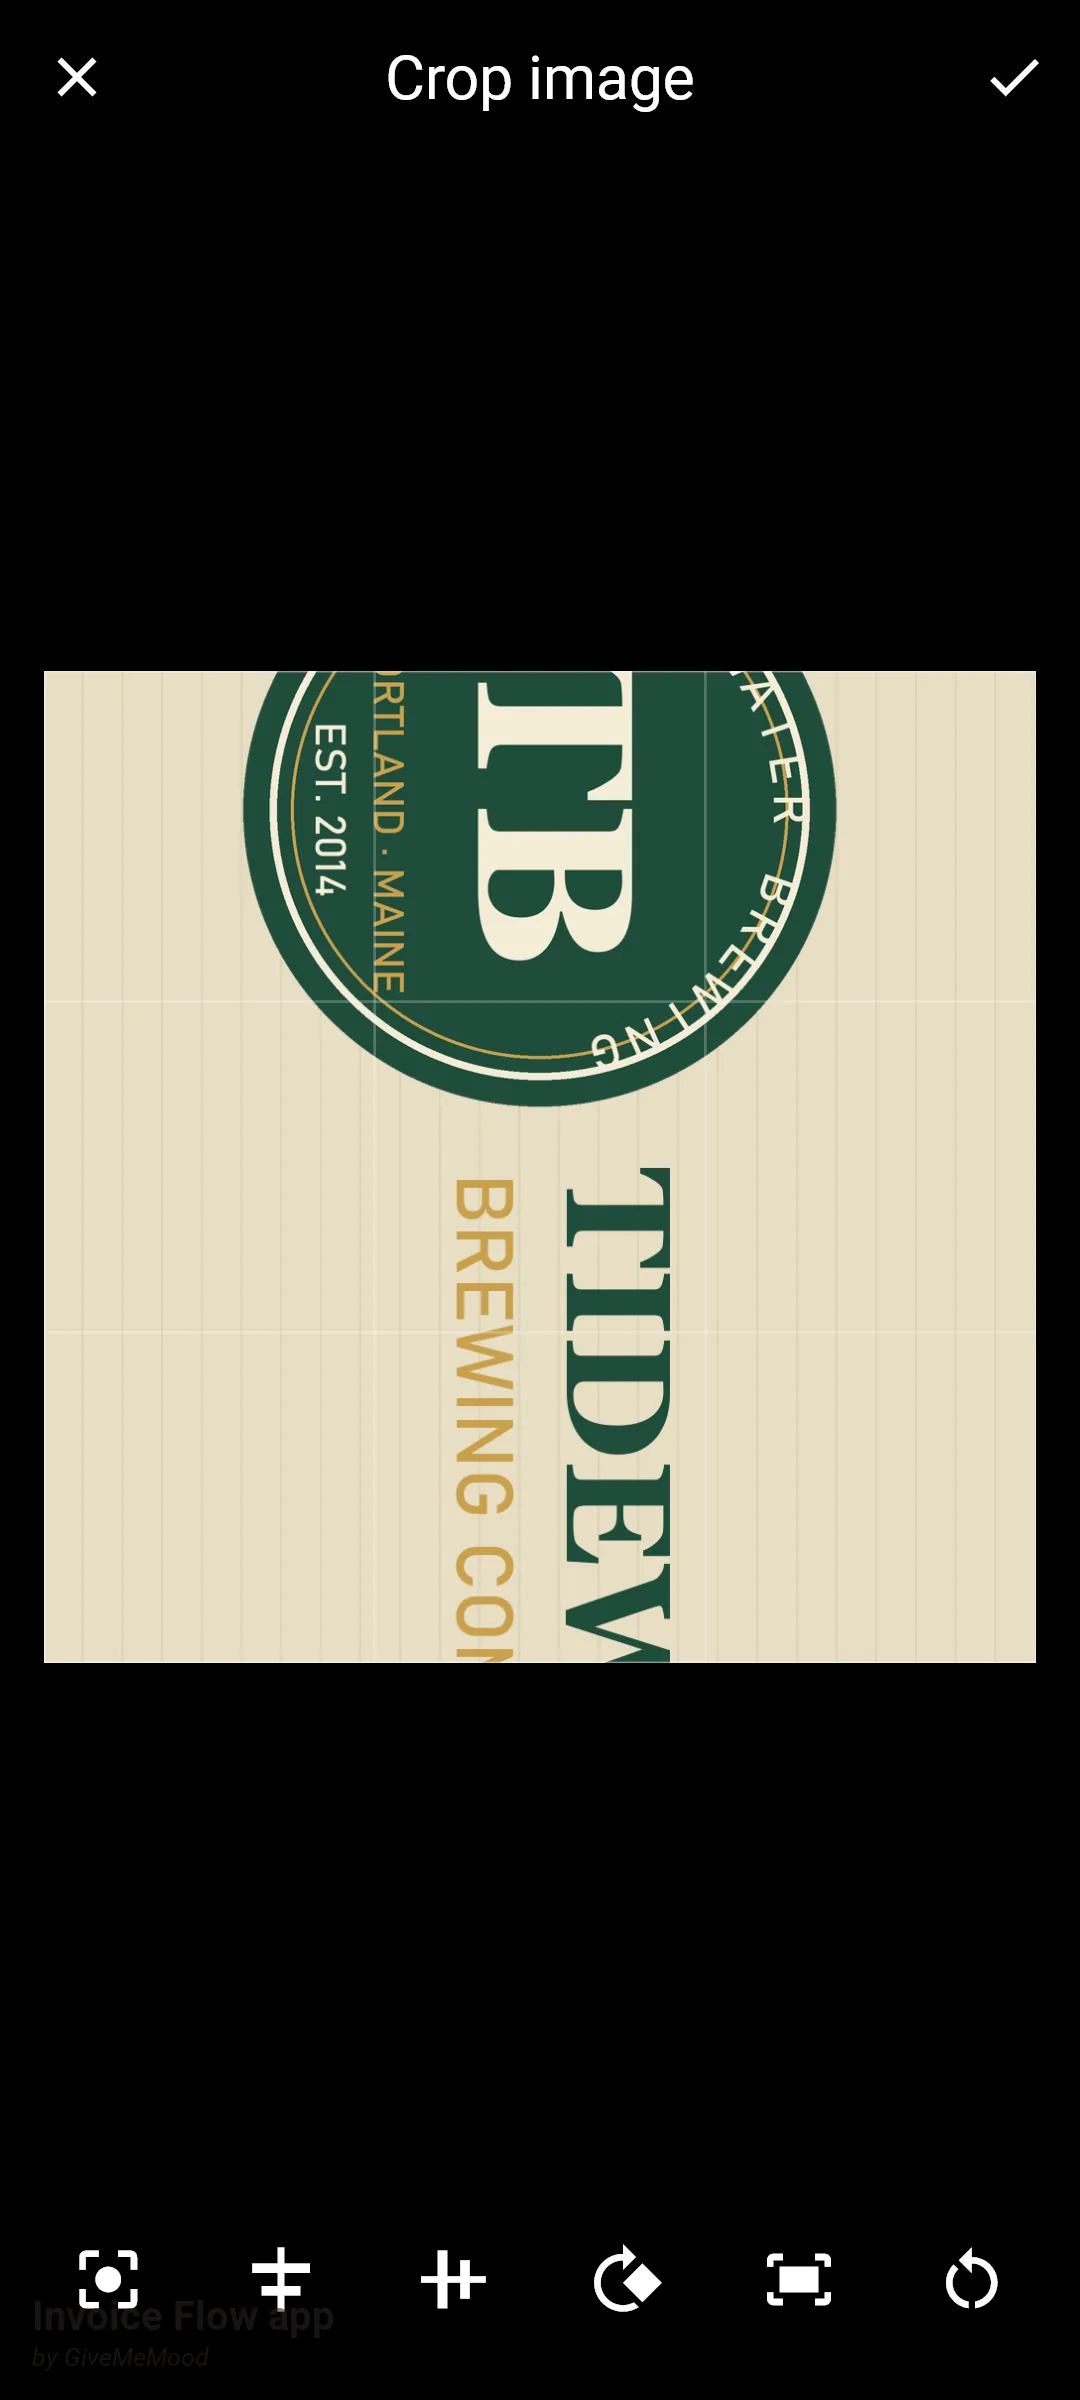
To re-crop a logo already in a slot, tap Change and choose Crop image. The crop screen opens on the stored image, which is the previous crop, not the original: if you cut too much off the first time, use Replace image and pick the original again.
How to replace, re-crop or delete a logo
Once a slot has an image, the Change button no longer jumps straight to the gallery. It opens a short bottom sheet with three choices.
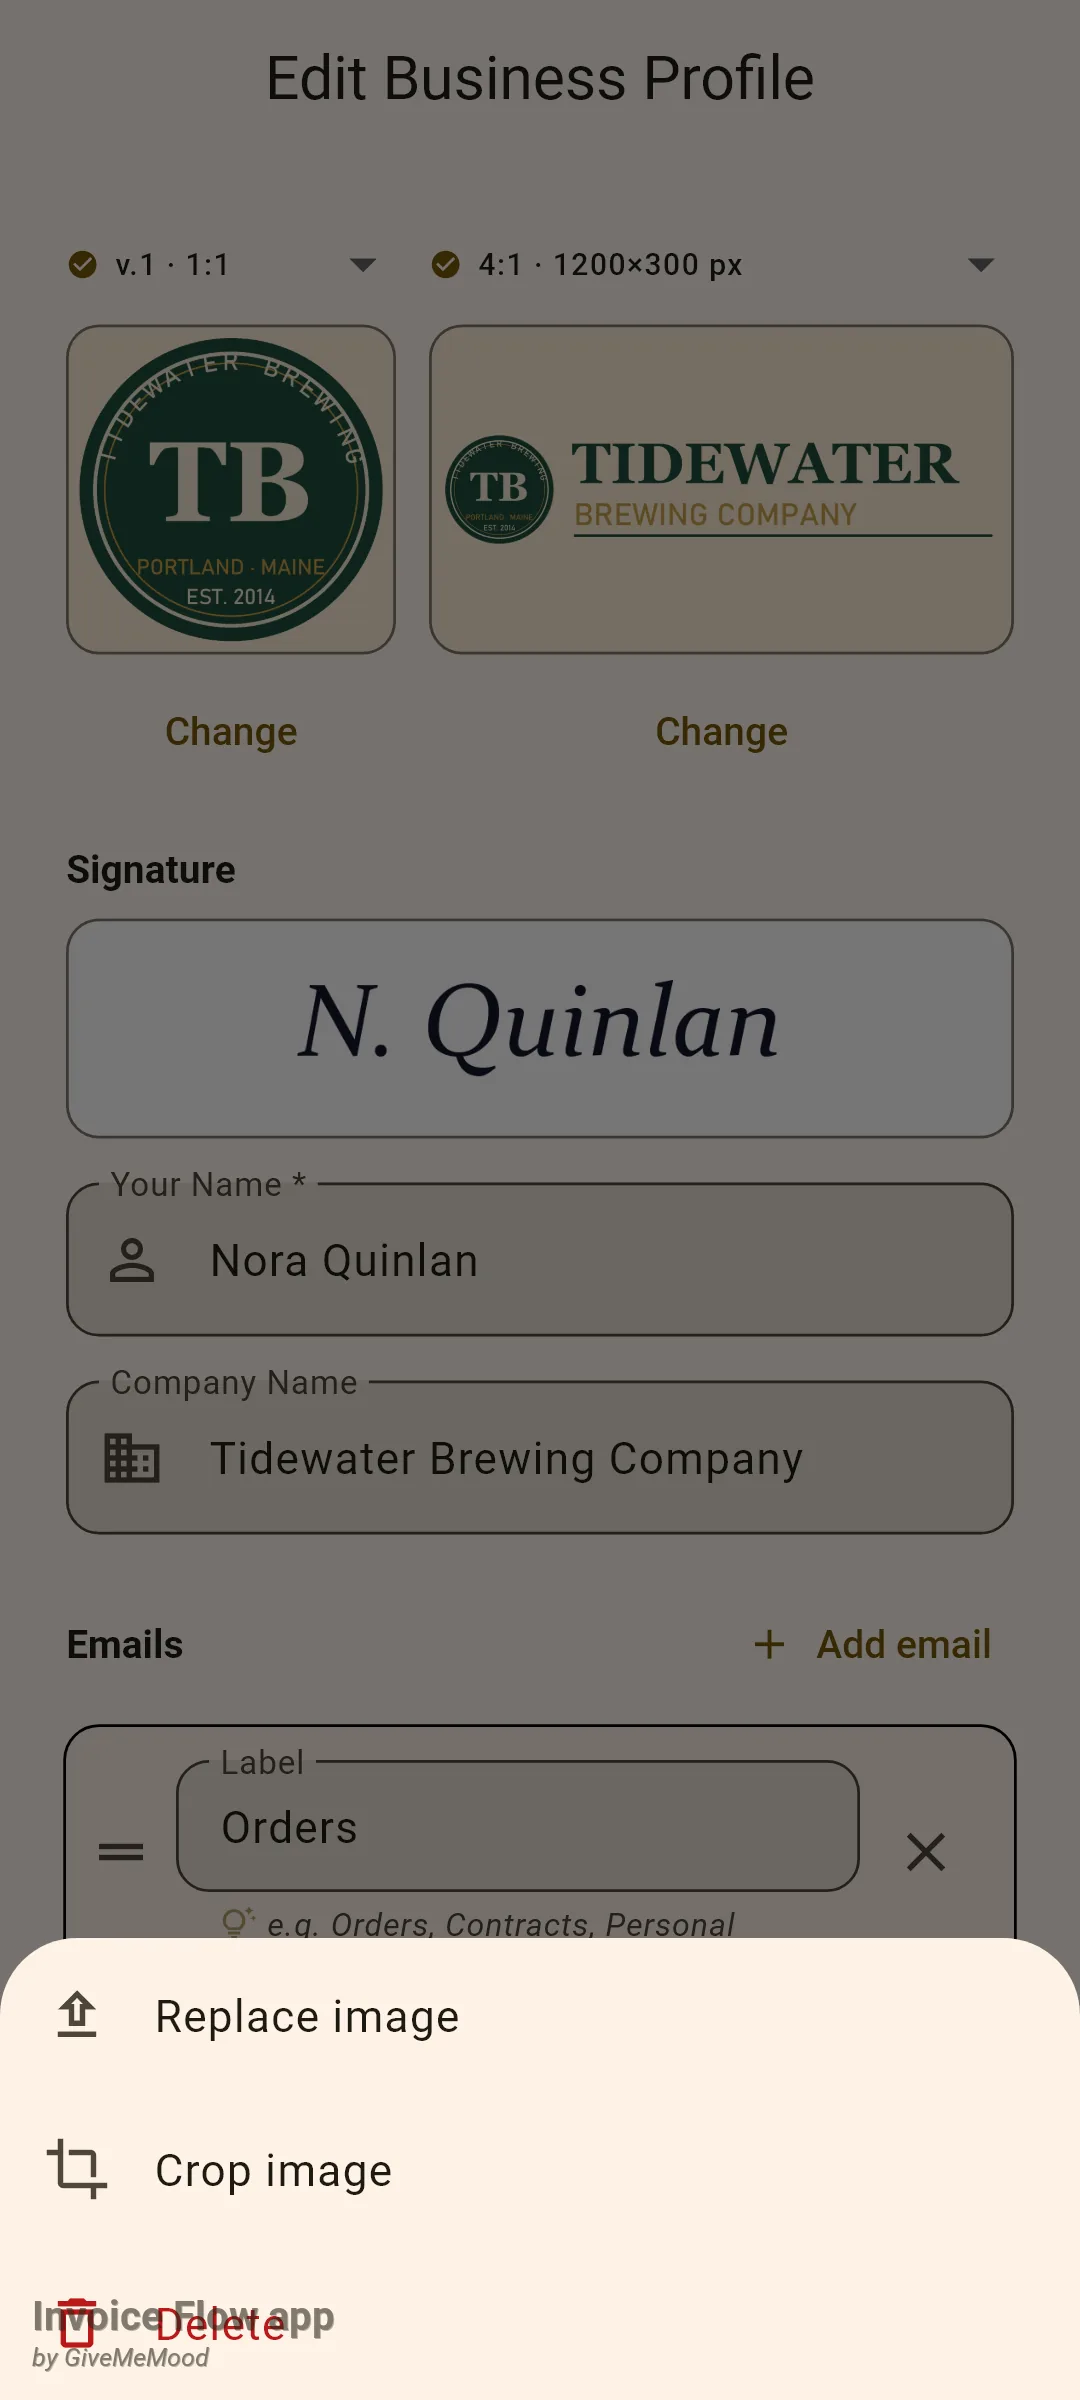
- Tap Change under the slot you want to edit.
- Choose Replace image to pick a new file from the gallery and crop it, Crop image to reopen the crop screen on the current image, or Delete to clear the slot.
- For Delete, confirm in the dialog titled Remove this entry? by tapping the red Delete, or back out with Cancel.
- Tap Save Changes at the bottom of the form. As the dialog text says, the removal is applied only when the form is saved.
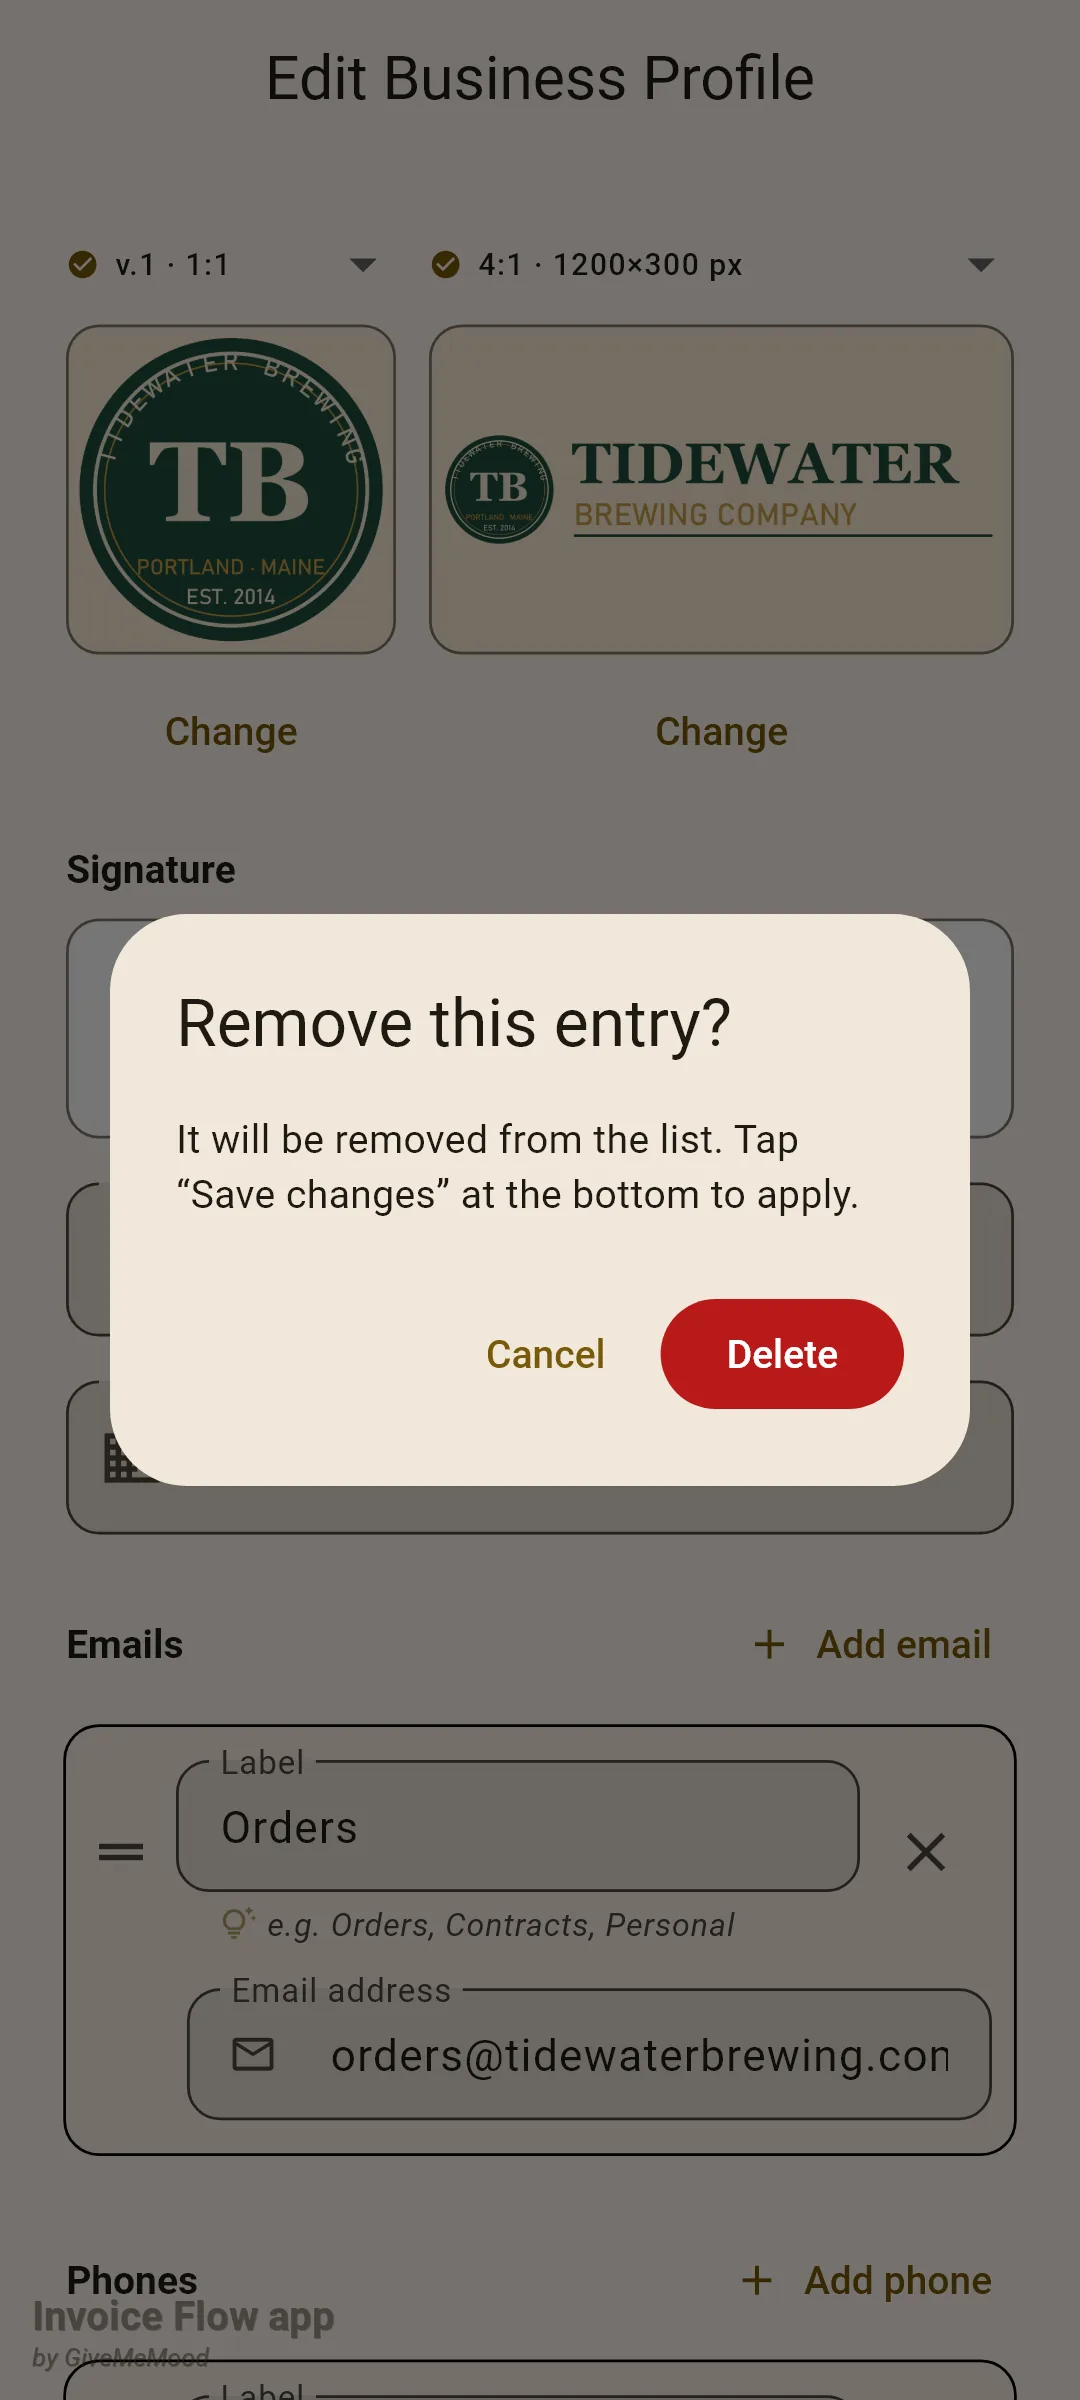
Deleting affects one variant, the one currently selected in that slot’s dropdown. If the wide slot shows 4:1 and you delete, the 16:9 version you uploaded earlier is untouched.
How to keep more than one version of a logo
Each slot stores several independent images. The square slot has three numbered versions (v.1, v.2, v.3), all 1:1, and the wide slot has one image per aspect ratio. The dropdown above the tile does two things at once: it switches which image the tile shows and edits, and it marks that image as the active one, the version the rest of the app uses.
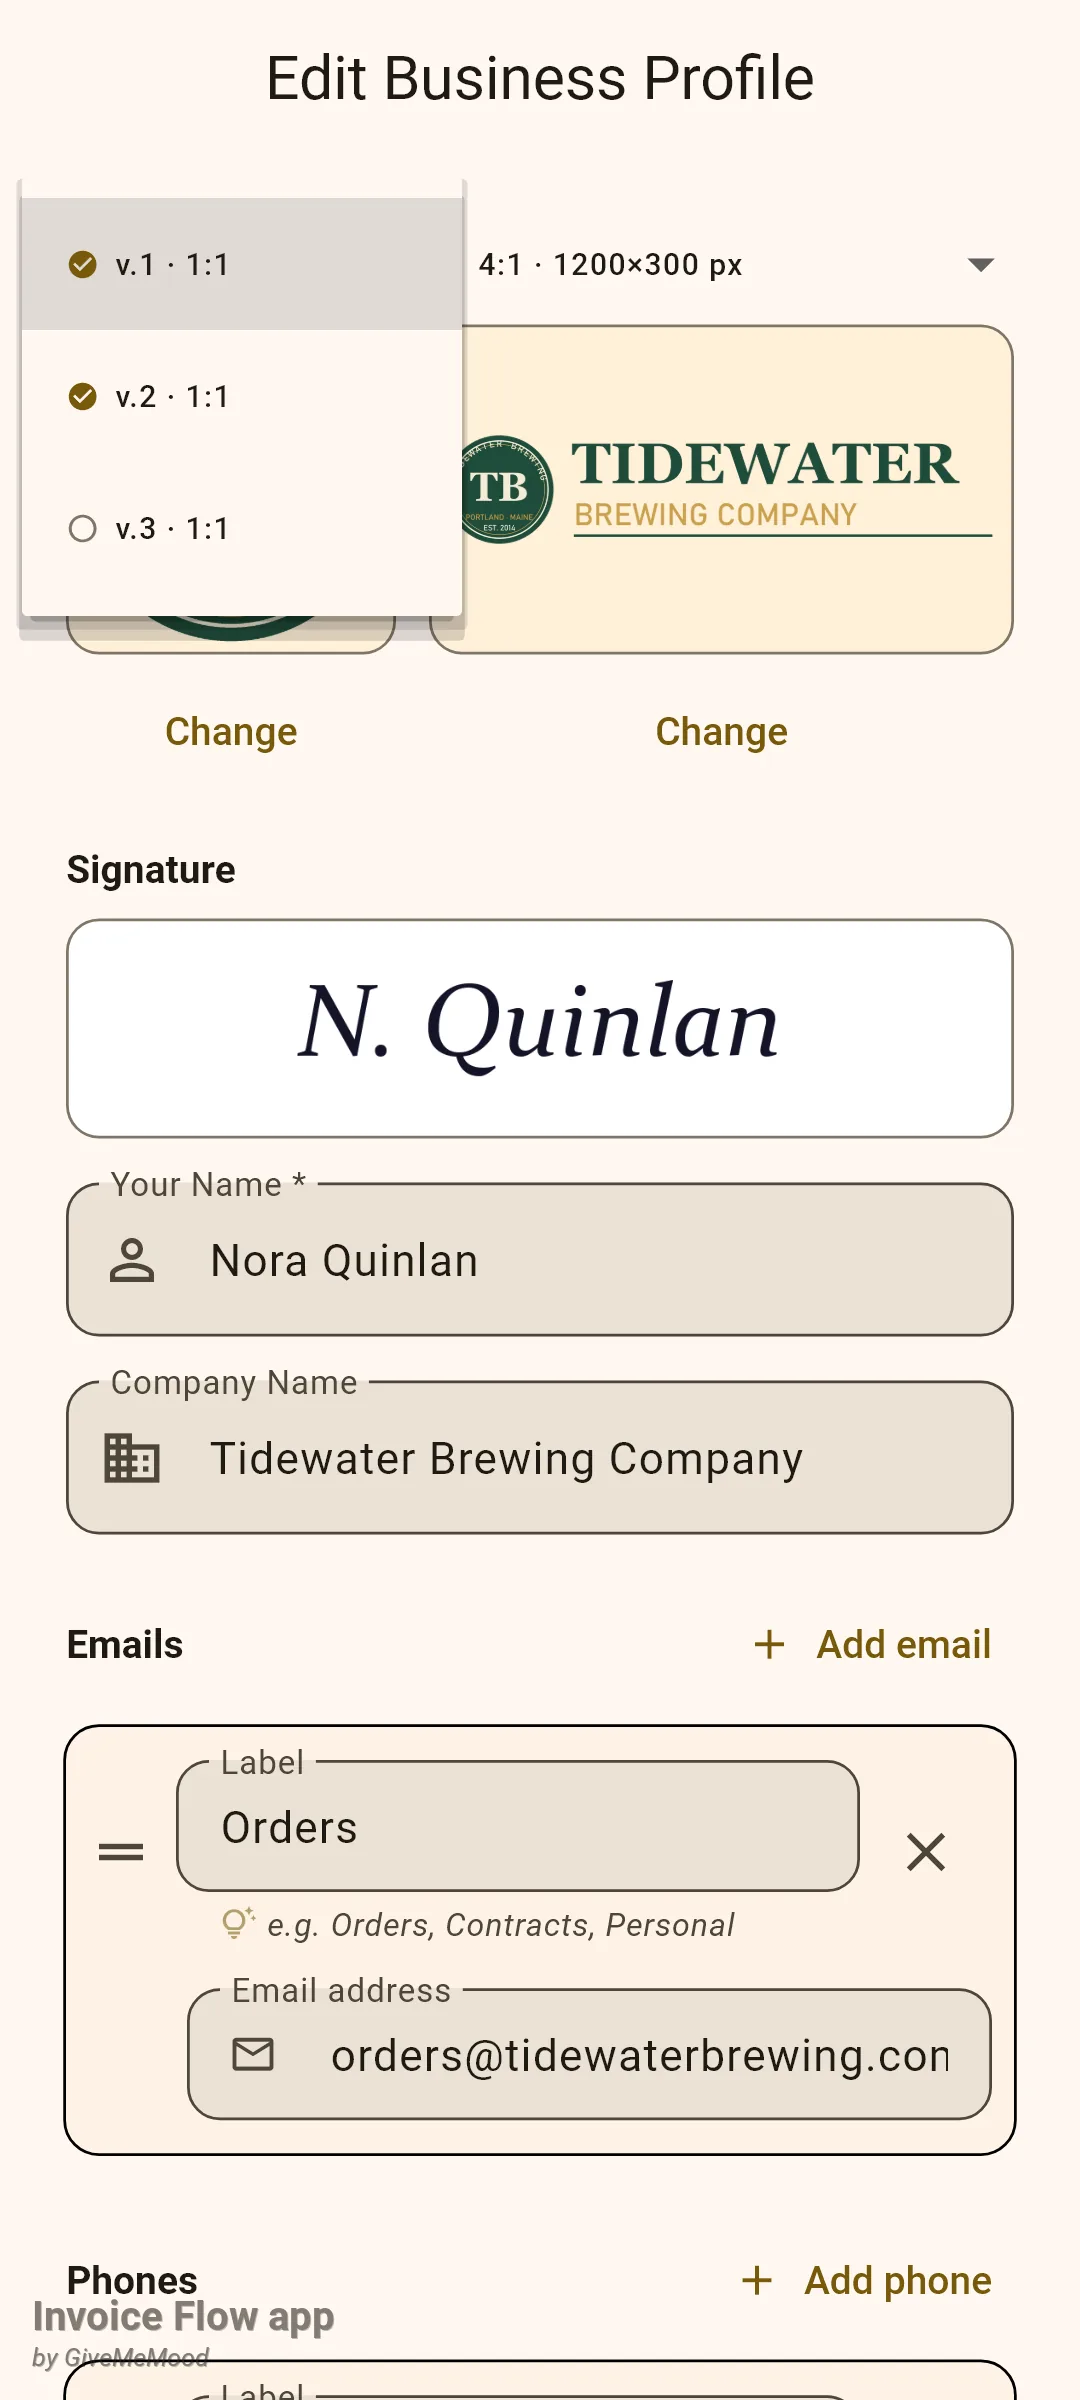
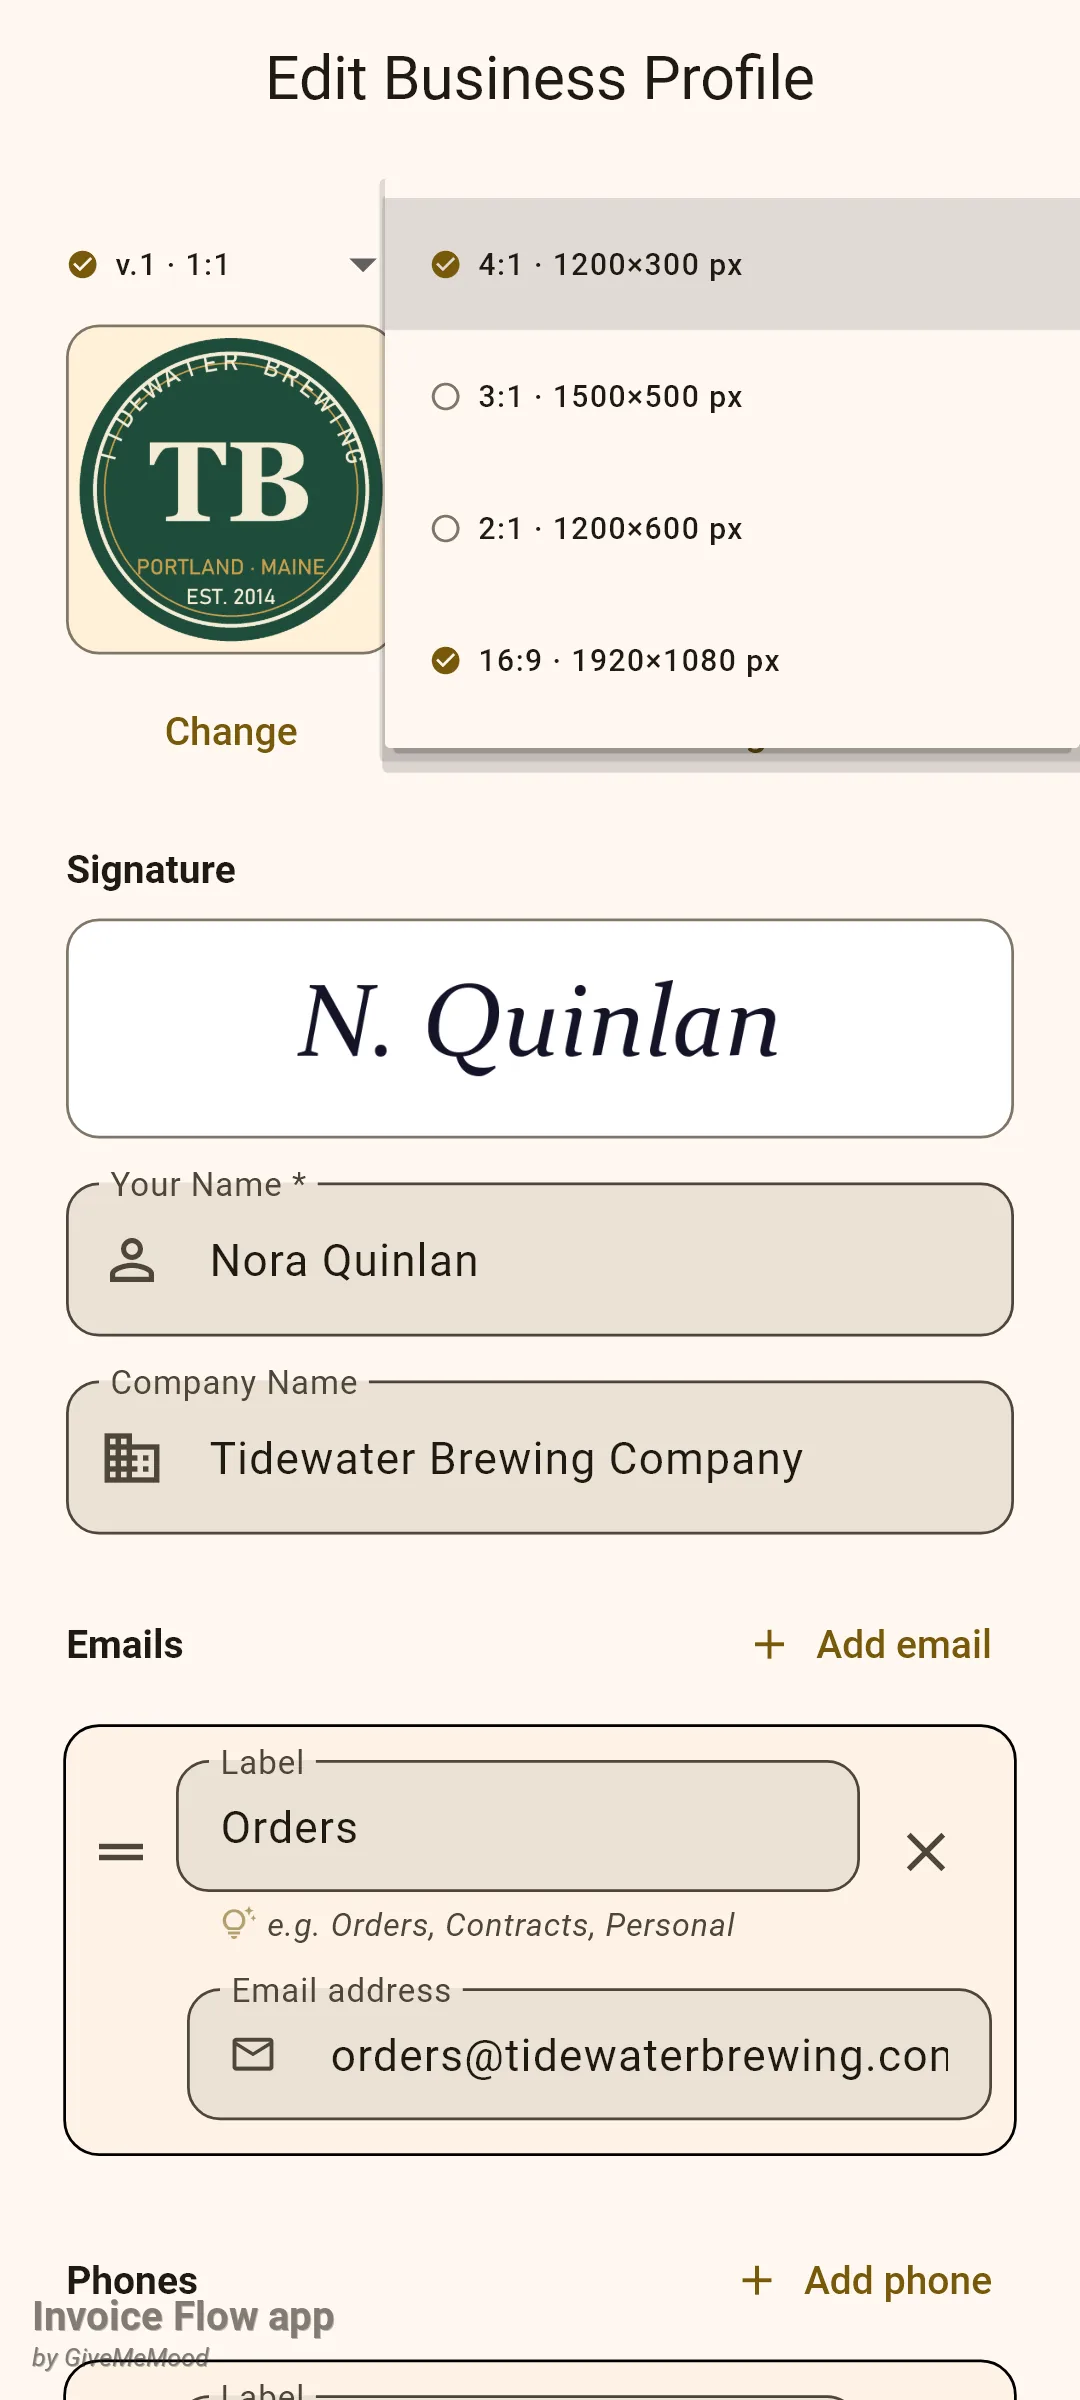
- Open the dropdown above the slot and pick an empty entry (hollow circle), for example v.2 · 1:1 or 16:9 · 1920×1080 px.
- The tile turns empty and the button reads Add. Tap it, pick the image, crop it in the frame for that shape and confirm.
- Open the dropdown again and select the entry you want as the everyday default. That entry becomes the active variant.
- Tap Save Changes.
Nora keeps the standard badge in v.1 and a winter version in v.2; in December she switches the dropdown to v.2 and saves. In the wide slot she has the 4:1 wordmark and a stacked 16:9 version.
Switching the wide dropdown never reshapes an existing image; picking 2:1 simply shows the 2:1 image, empty or not. For the same artwork in a second shape, upload it again under that shape.
How templates decide which logo to print
There are two families of PDF layouts in Invoice Flow, and they treat the two slots differently.
Built-in templates (Clean, Professional, Modern, Classic and the rest of the twelve you pick under Select Template in the invoice editor) always print the wide logo. The image is placed in a 60×60 pt box in the header with its proportions preserved, so a 4:1 wordmark becomes a strip 60 pt wide and 15 pt tall, sitting above or beside the company details depending on the template. The square mark is never used by these templates.
Custom templates from the template gallery and the visual editor contain separate elements called Square logo and Wide logo. A layout prints whichever elements it contains. Of the ready-made presets, for example, Trades, Clean (in the Modern group), Centered and Dense place the square mark, while Business, Services, Accent stripe, Statement and Airy place the wide one. The square element prints at 60×60 pt; the wide element is 40 pt tall and as wide as its proportions allow, which suits a wordmark far better than the built-in header box does.
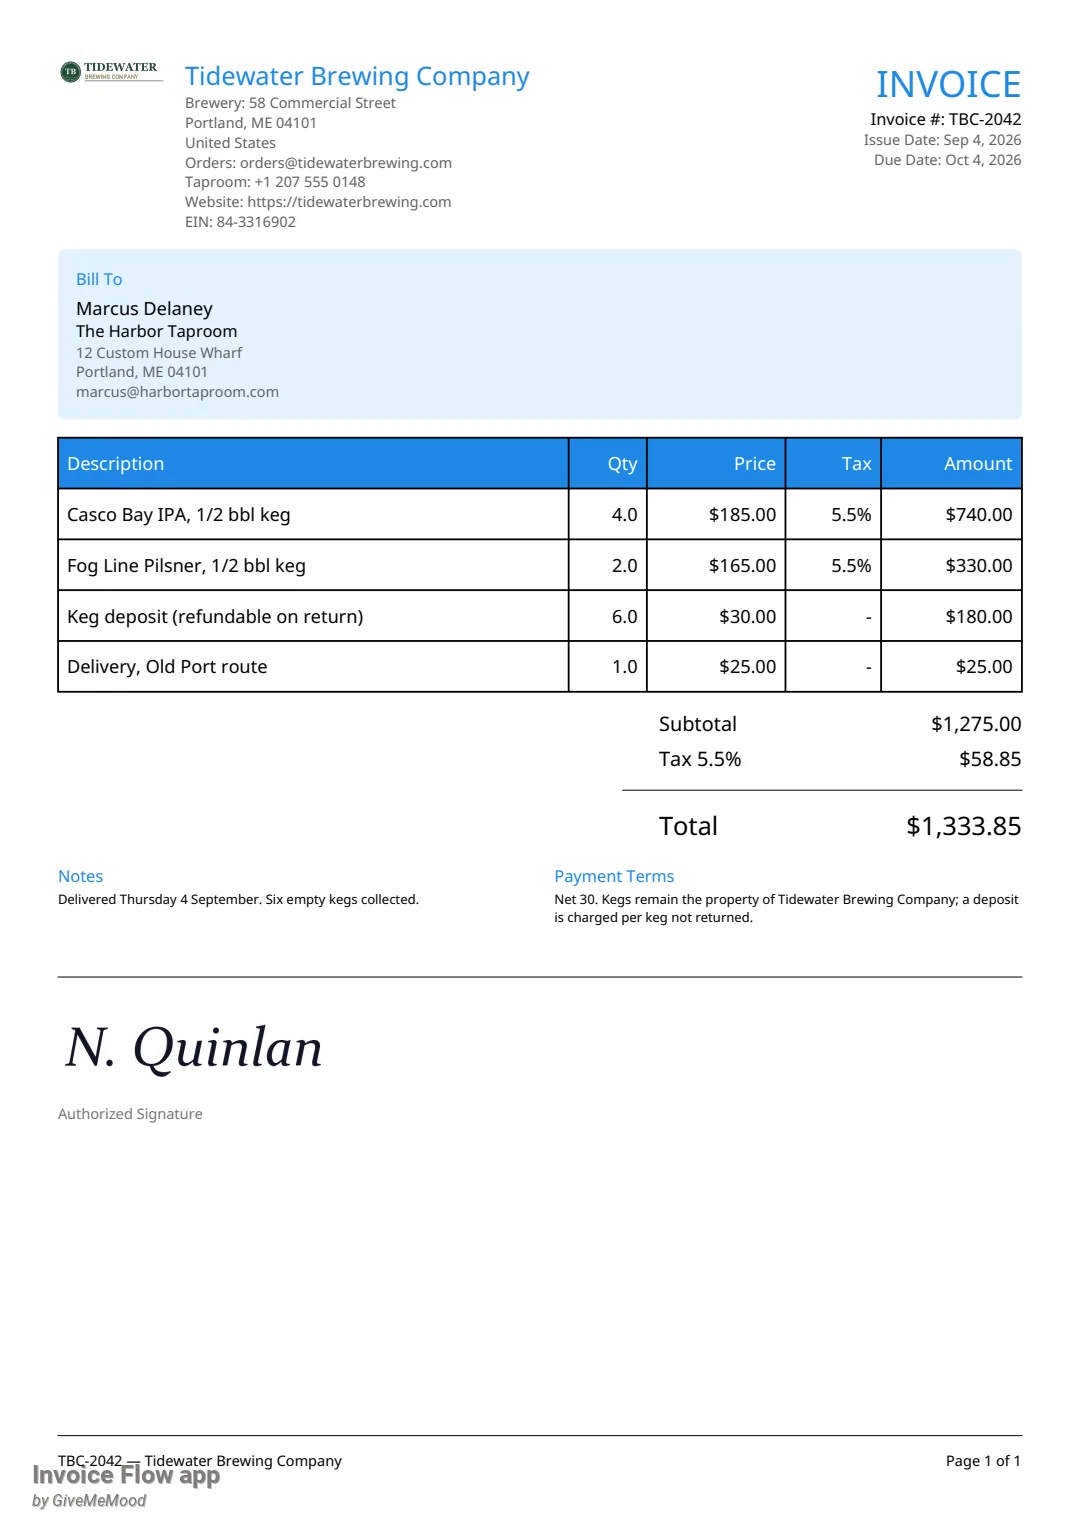
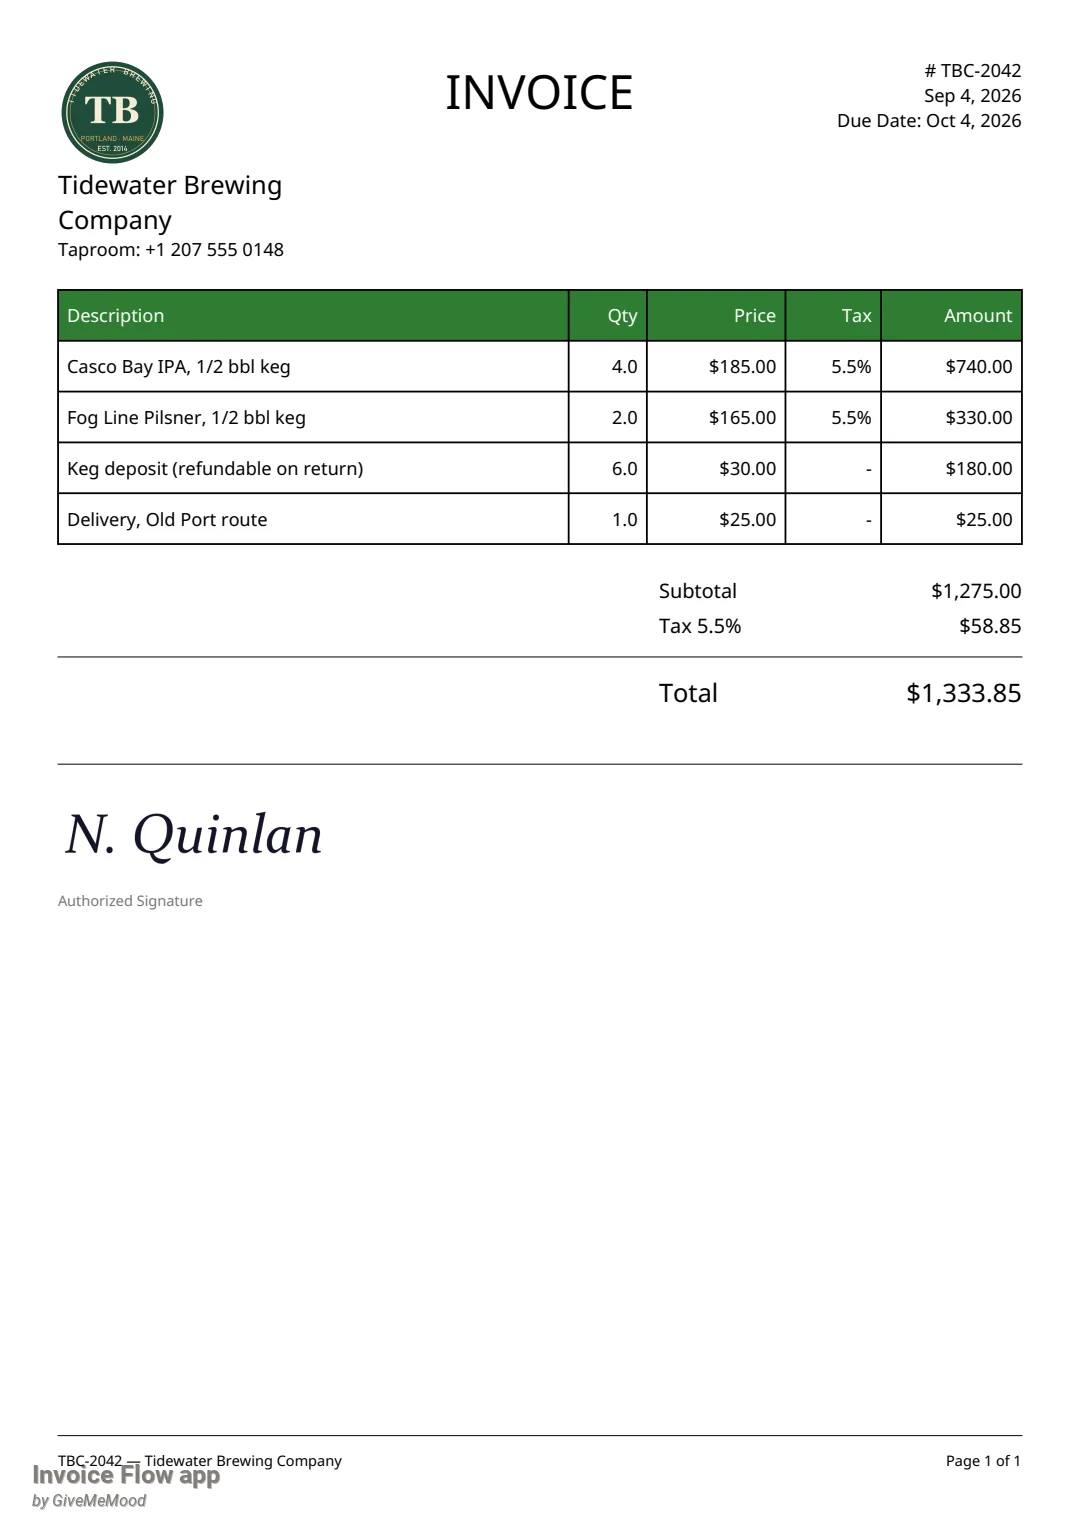
To render an invoice with a square-logo layout, open Settings, then Custom templates, pick a preset in the Template gallery (or build your own with a Square logo element) and tap Use. Then, in the invoice editor, choose that template in the Custom template card under Select Template. The guides on templates and the custom template editor cover this in detail.
For the wide slot there is one more control in the invoice editor. When your profile has two or more wide versions uploaded, a Logo variant card appears below the template selection with a thumbnail per aspect ratio and a Use profile default button. Tapping a thumbnail makes that invoice print that version instead of the profile’s active one; the choice is saved with the invoice. A matching Square logo variant card exists for the three square versions.
Rules and details
- Nothing about logos is saved until you tap Save Changes or Continue. Adding, cropping, deleting and switching the active variant all live in the open form until then.
- Each slot’s crop is locked to its shape: 1:1 for the square slot, and the aspect ratio currently chosen in the dropdown for the wide slot.
- The crop is rendered from the screen at two to four times the display density. On a typical phone that gives a square logo of roughly 2000 px, sharp enough for print. The output is a lossless PNG, but it is captured with the frame’s light background behind it, so transparent areas of the source come out as the pale checker pattern rather than as transparency, and the faint grid lines can be captured too.
- The active square variant is what the app shows as your avatar on the Settings profile tile and in the Business Profiles list. If no square logo exists at all, the avatar falls back to the wide logo, and after that to your initials.
- Duplicating a profile from the Business Profiles list copies every logo version into the new profile.
- The built-in templates print the wide logo only. If the active wide version is empty, the header simply has no logo; the square mark does not step in.
- In custom templates, the Square logo element prints the active square variant from the profile. The per-invoice Square logo variant card sets a value on the invoice, but the custom renderer currently reads the profile’s active variant rather than that override; the Logo variant override for wide logos is honoured by both template families.
- The logo tools themselves are not restricted, but opening the profile editor from Settings requires an active trial or Pro subscription, like the other Settings screens.
- Profiles created in older versions of the app that had a single logo field keep working: that image is loaded into the wide slot (under the active aspect ratio) until you replace it. The square slot starts empty.